Ingredients
Method
Night Before
Step 1: Prep Your Potato and Potato Water
- Peel and cube your potatoes, then boil until completely fork-tender — you want them falling apart, not just cooked through. Reserve the cooking water before you drain the potatoes; you’ll need 175g of it. Run the potatoes through a potato ricer, or mash thoroughly until there are no lumps. Measure out 130g of the mashed potato. Let both the potato and the potato water cool fully overnight.
Step 2: Feed Your Starter
- Depending on your starter’s strength and your kitchen’s temperature, feed a ratio fitting for the environment. My kitchen is around 70F overnight, so I feed my starter a 1:3:3 ratio. An example of that would be 25g starter : 75g water : 75g flour, this gives you a total of 175g of starter at peak the next morning, you’ll use 125g for the recipe and have 50g left over to go back in the fridge.fastest. 50g starter : 50g water : 50g flour.
Next Morning
Step 3: Mix the Dough
- Place the cold potato water, cold mashed potato, active starter, egg, sugar or honey, bread flour, and salt into the bowl of a stand mixer fitted with a dough hook. Mix on medium speed for 5–7 minutes, until everything is well combined. Check your dough, if it looks too hydrated, add 25g of flour, or if it’s too stiff, add 10g-15g of water because depending on the type of potato used and humidity, you may need to add more flour or more water. It should be a firm dough.With the mixer still running, add the soft butter one tablespoon at a time, waiting for each addition to be fully incorporated before adding the next. This whole process — from the start of mixing to the last of the butter going in — takes roughly 10-15 minutes total.You’ll know the dough is ready when it’s smooth, light, and glossy, and it’s pulling cleanly off the sides of the bowl to wrap around the hook.
Step 4: Bulk Rise
- Transfer the dough to a straight-sided container — a measuring bowl or dough bucket works well — and pat it down flat. Note where the dough sits so you can track its rise later. Check the internal temperature with an instant-read thermometer. If it’s over 85°F, pop it in the fridge for about an hour to bring it back down before moving on.
Step 5: Stretch & Folds
- Perform two sets of stretch and folds, spaced about 40 minutes apart. This builds strength and structure in a dough that’s too soft and enriched to knead by hand for long.After the second set, let the dough continue to rise at room temperature until it has increased in volume by about 50%.
Step 6: Cold Ferment
- Once the dough has risen by about 50%, cover the container and move it to the fridge for a cold ferment of 8 to 24 hours. If skipping cold ferment, once the dough reaches a 50% rise proceed to step 7.
Step 7: Shape the loaf
- Turn the dough out onto a lightly floured surface. Flatten it into a rectangle or use a rolling pin, oriented sideways in front of you. Fold the left and right sides in toward the center so the width matches the length of your loaf pan, then roll the dough up snugly from the bottom, keeping the tension even as you go.Place the shaped dough seam-side down into a lined and greased 9×4-inch loaf pan.
Step 8: Final Proof
- Cover the pan and let the dough proof at room temperature until it has doubled in size. The dough should be visibly domed above the rim of the pan, and it should feel airy and slightly springy, not tight, when you gently press it.
Step 9: Bake
- Bake at preheated 375°F for 40-45 minutes, until the internal temperature reads between 198°F and 205°F on an instant-read thermometer. Because this dough has more sugar and richness than a lean sourdough loaf, keep an eye on the crust color in the last 10 minutes — tent it loosely with foil if it’s browning faster than the inside is finishing.
Step 10: Cool and Slice
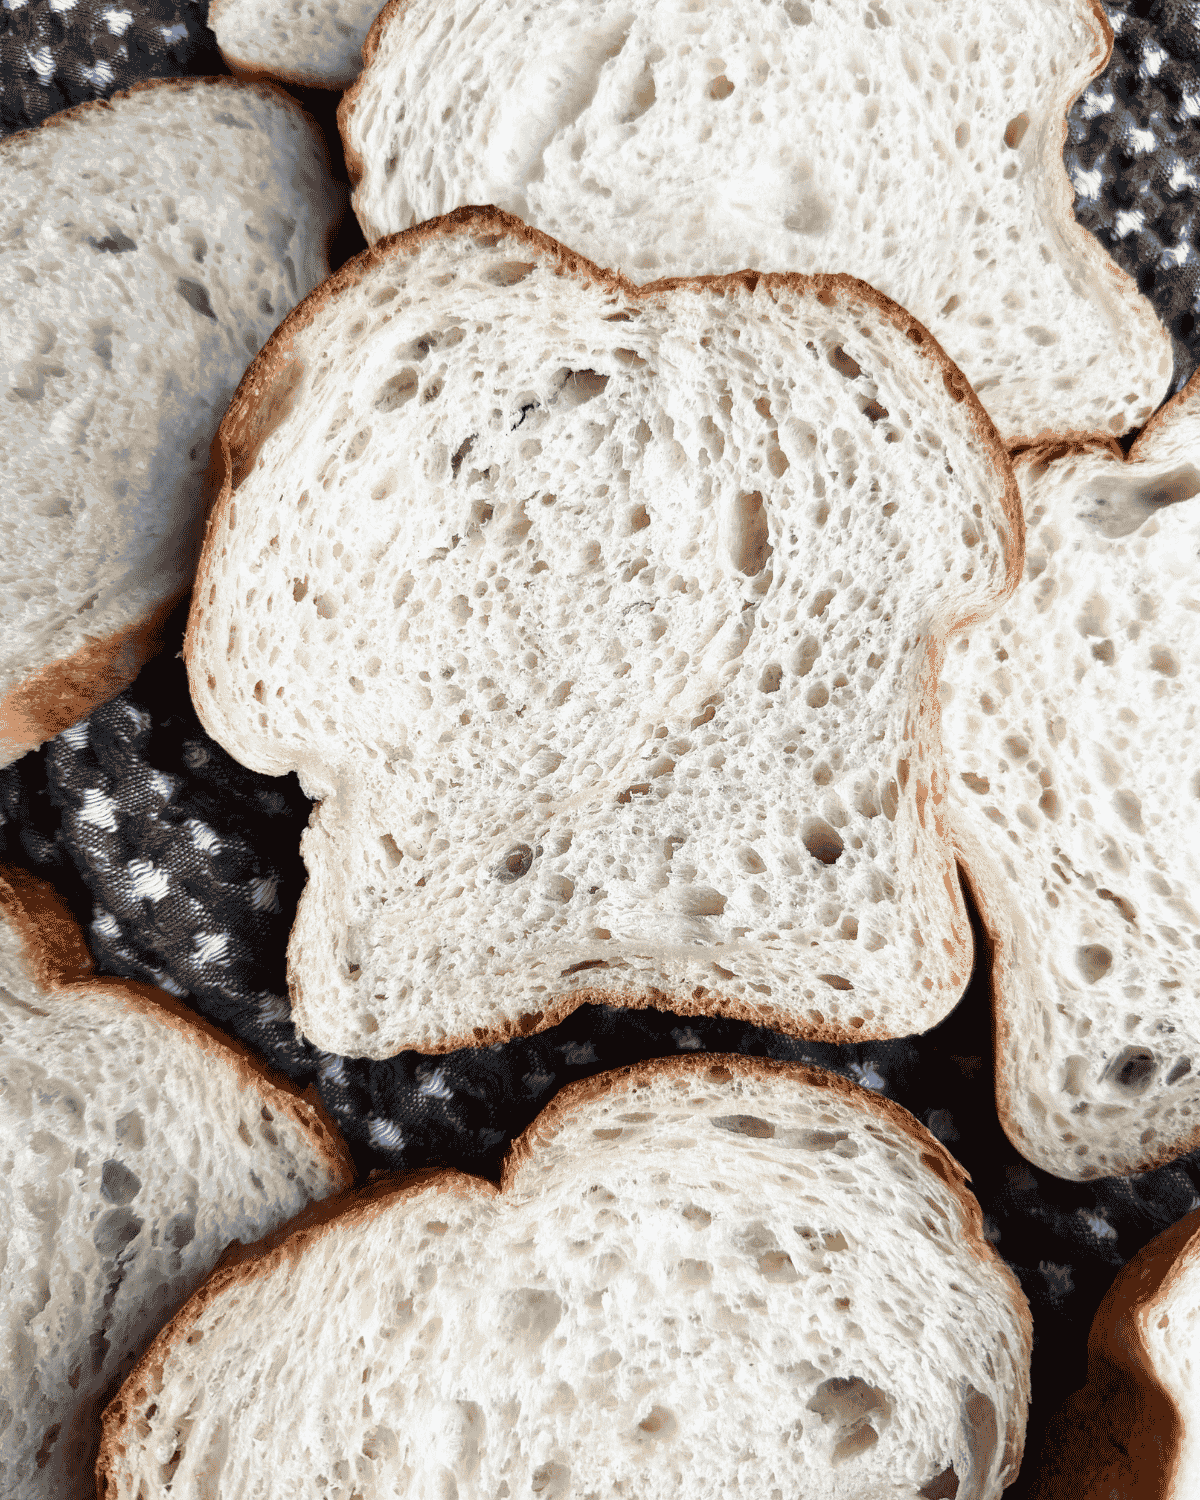
- As soon as it comes out of the oven, remove the loaf from the pan and brush the top generously with butter — this softens the crust and adds a beautiful sheen and flavor. Remove the pan liner and cool the loaf completely on a wire rack before slicing.