Ingredients
Method
Step 1 - Night before:
- Combine the 25g starter, 75g water, and 75g flour in a small jar or bowl. Stir until no dry flour remains, make sure the consistency is thick like hummus, if it is not, add a little more flour, cover loosely, and leave it at room temperature overnight until it's at peak.
Step 2 - Next morning:
- Combine the milk, water, starter, egg, sugar, flour, and salt in the bowl of a stand mixer fitted with a paddle attachment, or a medium mixing bowl if you're working by hand.
- Mix on low speed just until everything is well combined, then increase to medium speed and mix for about 5 minutes (if the mixer is struggling at this point with the paddle attachment, you can switch to a dough hook). If you're mixing by hand, knead until the dough comes together — it WILL be sticky, and that's exactly what it should be at this stage, don't be tempted to add more flour. Let the dough rest, covered, for 30 minutes.
- Step 3:
- After the rest, turn the mixer back to medium speed and slowly drizzle in the melted butter, mixing for about 5-7 minutes total, or until the dough turns smooth, elastic, and starts pulling cleanly away from the sides of the bowl. If mixing by hand, work in all the butter and knead until it's fully absorbed — this will take some elbow grease, but the dough will come together.
- Step 4:
- Transfer the dough to a straight-sided container — a large glass measuring bowl or a clear container works well — and pat it down gently so you can clearly see the starting level. Cover with plastic wrap. Rest 30 min.
- Step 5:
- If you mixed with a stand mixer, perform two coil folds, spaced 30 minutes apart. If you mixed by hand, perform four coil folds, also 30 minutes apart, since hand-mixing builds less gluten strength up front.To coil fold: wet your hands slightly, reach under one side of the dough, lift it up and let it fold underneath itself, then rotate the bowl a quarter turn and repeat on all sides. This gently strengthens the dough without knocking out the gas you're working so hard to build.
- Step 6:
- Allow to rise by 50% in size in a warm spot.
- Step 7:
- Refrigerate the dough from 6-24 hrs. This cold rest does double duty: it firms the dough up for much easier shaping, and it continues to slowly deepen the sourdough flavor.
- Step 8:
- Shaping Method 1 (rustic, cutter-based): Turn the chilled dough out onto a floured counter. Lightly flour the top and gently spread and pat it down until it's just under an inch thick. Line two baking sheets with parchment squares and sprinkle generously with cornmeal or semolina. Use a floured 2½-inch round cutter to cut your muffins, transferring each one gently with a floured bench scraper. Gently dust off the flour from the scraps and knead back together, re-roll, and keep cutting until the dough is used up.
- Shaping Method 2 (precise, weighed portions): Turn the dough out onto a lightly floured counter and use a dough scraper or knife to divide it into 14 even pieces — a digital scale helps here, aiming for about 90–95g each. Shape each piece into a ball and let rest for 30 minutes. Then tighten the shape of each ball, dip both sides in cornmeal, and place on parchment squares on your sheet pan.
- Whichever method you choose, cover the pans loosely with plastic wrap and let the muffins rise in a warm spot until doubled in size.
- Step 9:
- Preheat your oven to 375°F — you'll use this at the end to confirm doneness, not to bake the muffins from scratch. Place a large skillet over medium heat.
- Step 10:
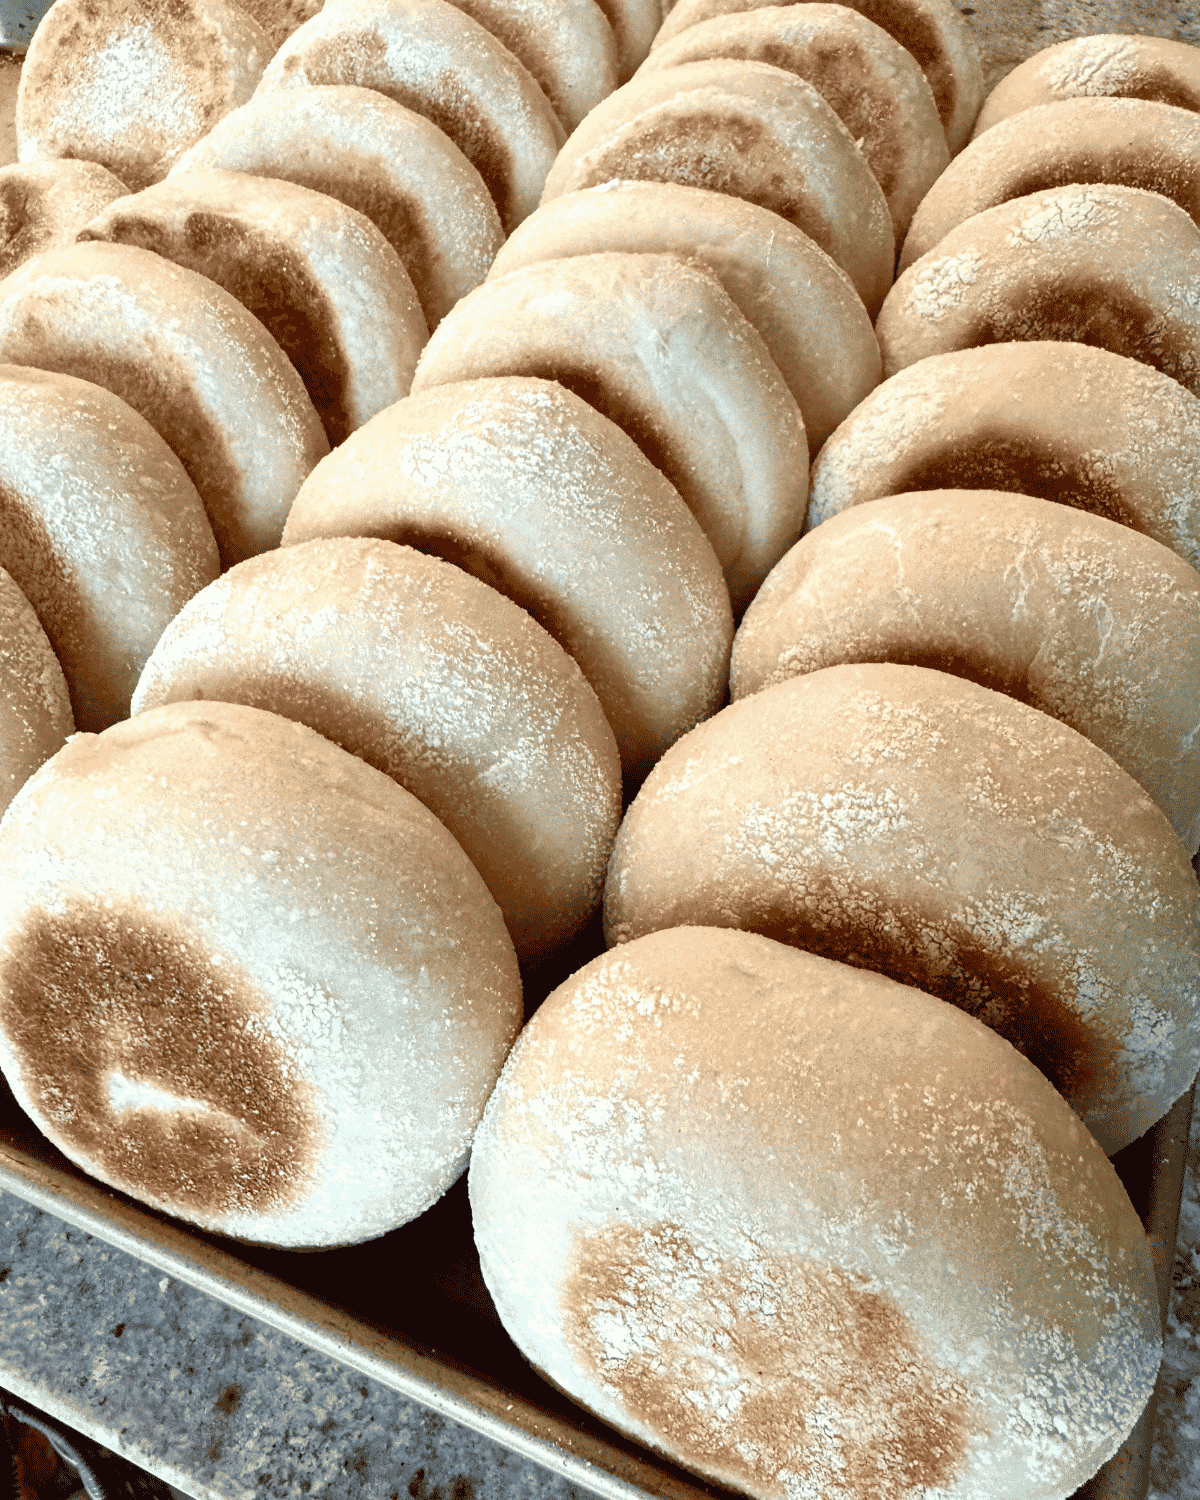
- Allow you skillet to preheat on the stove for a few min, then lower the heat to low. Spray the skillet with some oil, then carefully place 3 muffins in the pan with the parchment square underneath, leaving room for them to grow. Cover and cook for 3 to 5 minutes, until the bottoms are just browned and the tops look drier. If bottoms are browning too soon, lower the heat.Carefully flip peel off the parchment square and cook another 3 to 5 minutes, until the second side is browned as well. Keep checking on them to make sure they don't get too browned.
- Step 11:
- Use a probe thermometer to check the internal temperature right in the center of a muffin. You're looking for at least 198°F. If it reads lower, transfer the muffins to your preheated 375°F oven for a few minutes to finish baking through.Between batches add a fresh spray of oil before continuing.
Notes
Notes
Adjust the burner heat as needed while cooking the muffins. I usually don't step away from them, regularly checking the bottoms. Each batch cooks different, so keep an eye on them.
You can skip the skillet and bake your muffins on a preheated baking sheet or pizza stone, flipping them half way. They turn out a little more pale on the outside, but that works great for toasting the muffin later.
Adjust the burner heat as needed while cooking the muffins. I usually don't step away from them, regularly checking the bottoms. Each batch cooks different, so keep an eye on them.
You can skip the skillet and bake your muffins on a preheated baking sheet or pizza stone, flipping them half way. They turn out a little more pale on the outside, but that works great for toasting the muffin later.