Ingredients
Method
Step-by-Step Directions with Tips
Step 1: Build Your Sweet Stiff Levain (Night Before)
- In a wide jar or container, combine 20g starter, 25g water, 10g honey (or sugar), and 60g bread flour. Mix until it is too stiff to mix, dump it out on the counter and knead by hand until no dry flour remains — the result will be a firm, dense little dough, place back in the jar, cover loosely and leave it at room temperature overnight.
Step 2: Make the Oat Soaker (Night Before)
- In a 2 qt glass measuring bowl, pour 320g boiling water over 65g rolled oats. Stir to combine, cover, and set aside at room temperature overnight.
Step 3: Autolyse (Next Morning)
- To the bowl with the oat soaker, add 65g water and 400g whole wheat flour. Mix/knead by hand just until everything is combined and no dry flour is visible — you're not developing gluten yet, just bringing things together and letting the flour begin to hydrate. This resting step is called an autolyse, and it's what allows your whole wheat flour to fully absorb its liquid and begin relaxing on its own before you start building gluten.
- Cover the bowl and let it rest for 1 hour at room temperature.
Step 4: Add Levain, Honey, and Salt
- To a bowl of a stand mixer, add the autolyse dough, your sweet stiff levain, 50g honey, and 10g salt, then start the mixer on low and mix for 3–5 minutes, until everything is well combined and the levain is fully worked into the dough.
- 💡 Pro Tip: Because the levain is stiff rather than loose, it can take a minute or two longer to fully disperse through the dough than a wetter starter would — don't rush this step, and scrape down the bowl if you notice small unincorporated bits clinging to the sides.
Step 5: Add the Oil
- With the mixer still on the paddle attachment, add the 35g avocado oil and mix on speed 3 for 3 minutes, until the oil is fully incorporated and the dough looks glossy and cohesive rather than greasy or separated.
Step 6: Develop the Gluten
- Switch to the dough hook, scrape down the sides and bottom of the bowl, and mix on speed 4 or 5 for 5 minutes. This is where your dough transforms — you're looking for a smooth, elastic dough that pulls cleanly away from the sides of the bowl and feels tacky but not sticky when you touch it. Because this is 100% whole wheat, don't expect the same glossy, windowpane-strong gluten you'd see in an all-purpose flour dough — whole wheat's bran naturally cuts and interrupts gluten strands, so a slightly shaggier, denser feel here is completely normal.
Step 7: First Rest and Coil Folds
- Transfer the dough back to a lightly oiled glass measuring bowl, cover and let it rest for 30 minutes.
- Perform a coil fold: with wet or oiled hands, lift the center of the dough up and let the ends fold gently underneath themselves, rotate the bowl a quarter turn, and repeat around all sides. This strengthens the dough's structure without deflating it the way a hard punch-down would.
- Cover and rest another 30 minutes, then repeat the coil fold once more.
Step 8: Bulk Fermentation and Overnight Cold Rest
- Cover the bowl and let the dough bulk ferment at room temperature — this is where using that glass bowl really pays off, since you can watch the dough itself rather than the clock. Once you place your dough in the bowl, flatten the top and note where the level measures on the bowl. Calculate 30-50% rise from there based on your temperature and wait until your dough rise hits the desired rise.
- 💡 Pro Tip: This is one of the biggest lessons I teach in my classes — bulk fermentation should be judged by how much your dough has actually risen, not by how many hours have passed. For this recipe specifically, let your kitchen temperature guide your target: if it's warmer than 75°F, aim for about a 30% rise before moving the dough to the fridge, since fermentation is already moving quickly and the dough will continue developing overnight. If your kitchen is cooler than that, let it rise closer to 50% before retarding it, since a cooler dough needs a bit more of a head start. Watching the dough's volume — and factoring in your kitchen's temperature — is far more reliable than following a fixed number of hours.
- Once your dough has reached its target rise, cover it well and transfer the bowl directly to the refrigerator until next morning. This cold rest slows fermentation to a crawl, develops deeper flavor, and — very practically — means you can go to bed instead of waiting up for your dough.You can definitely skip the cold fermentation, shape your dough as soon as it hit the desired rise, place in a loaf pan - allow it to double in size and bake same night.
Step 9: Shape the Loaf (Following Morning)
- Turn the cold dough out onto a lightly floured surface. Shape it into a tight log or batard shape to fit your loaf pan — press it into a rectangle roughly the width of your pan, then roll it up firmly from the short end, sealing the seam as you go.
- Lightly mist the shaped loaf with water or roll it in a bowl of water, then roll it in a shallow dish of rolled oats (or oat bran) to coat the top and sides. This is what gives the finished loaf that rustic, bakery-style crust.
- Place the loaf, seam-side down, into a well-greased and lined 9x4x4-inch loaf pan.
Step 10: Final Proof
- Cover the pan loosely and let the dough proof at room temperature until it has roughly doubled in size — you're looking for the dough to crown a half inch or so above the rim of the pan.
- ⚠️ Watch Out: Because this dough is coming straight out of a cold, sluggish overnight rest, it can take longer to fully proof than you expect — sometimes 3 to 5 hours depending on your kitchen. Resist the urge to rush this step; an underproofed loaf will be dense and gummy in the center, even after a full bake.
Step 11: Bake
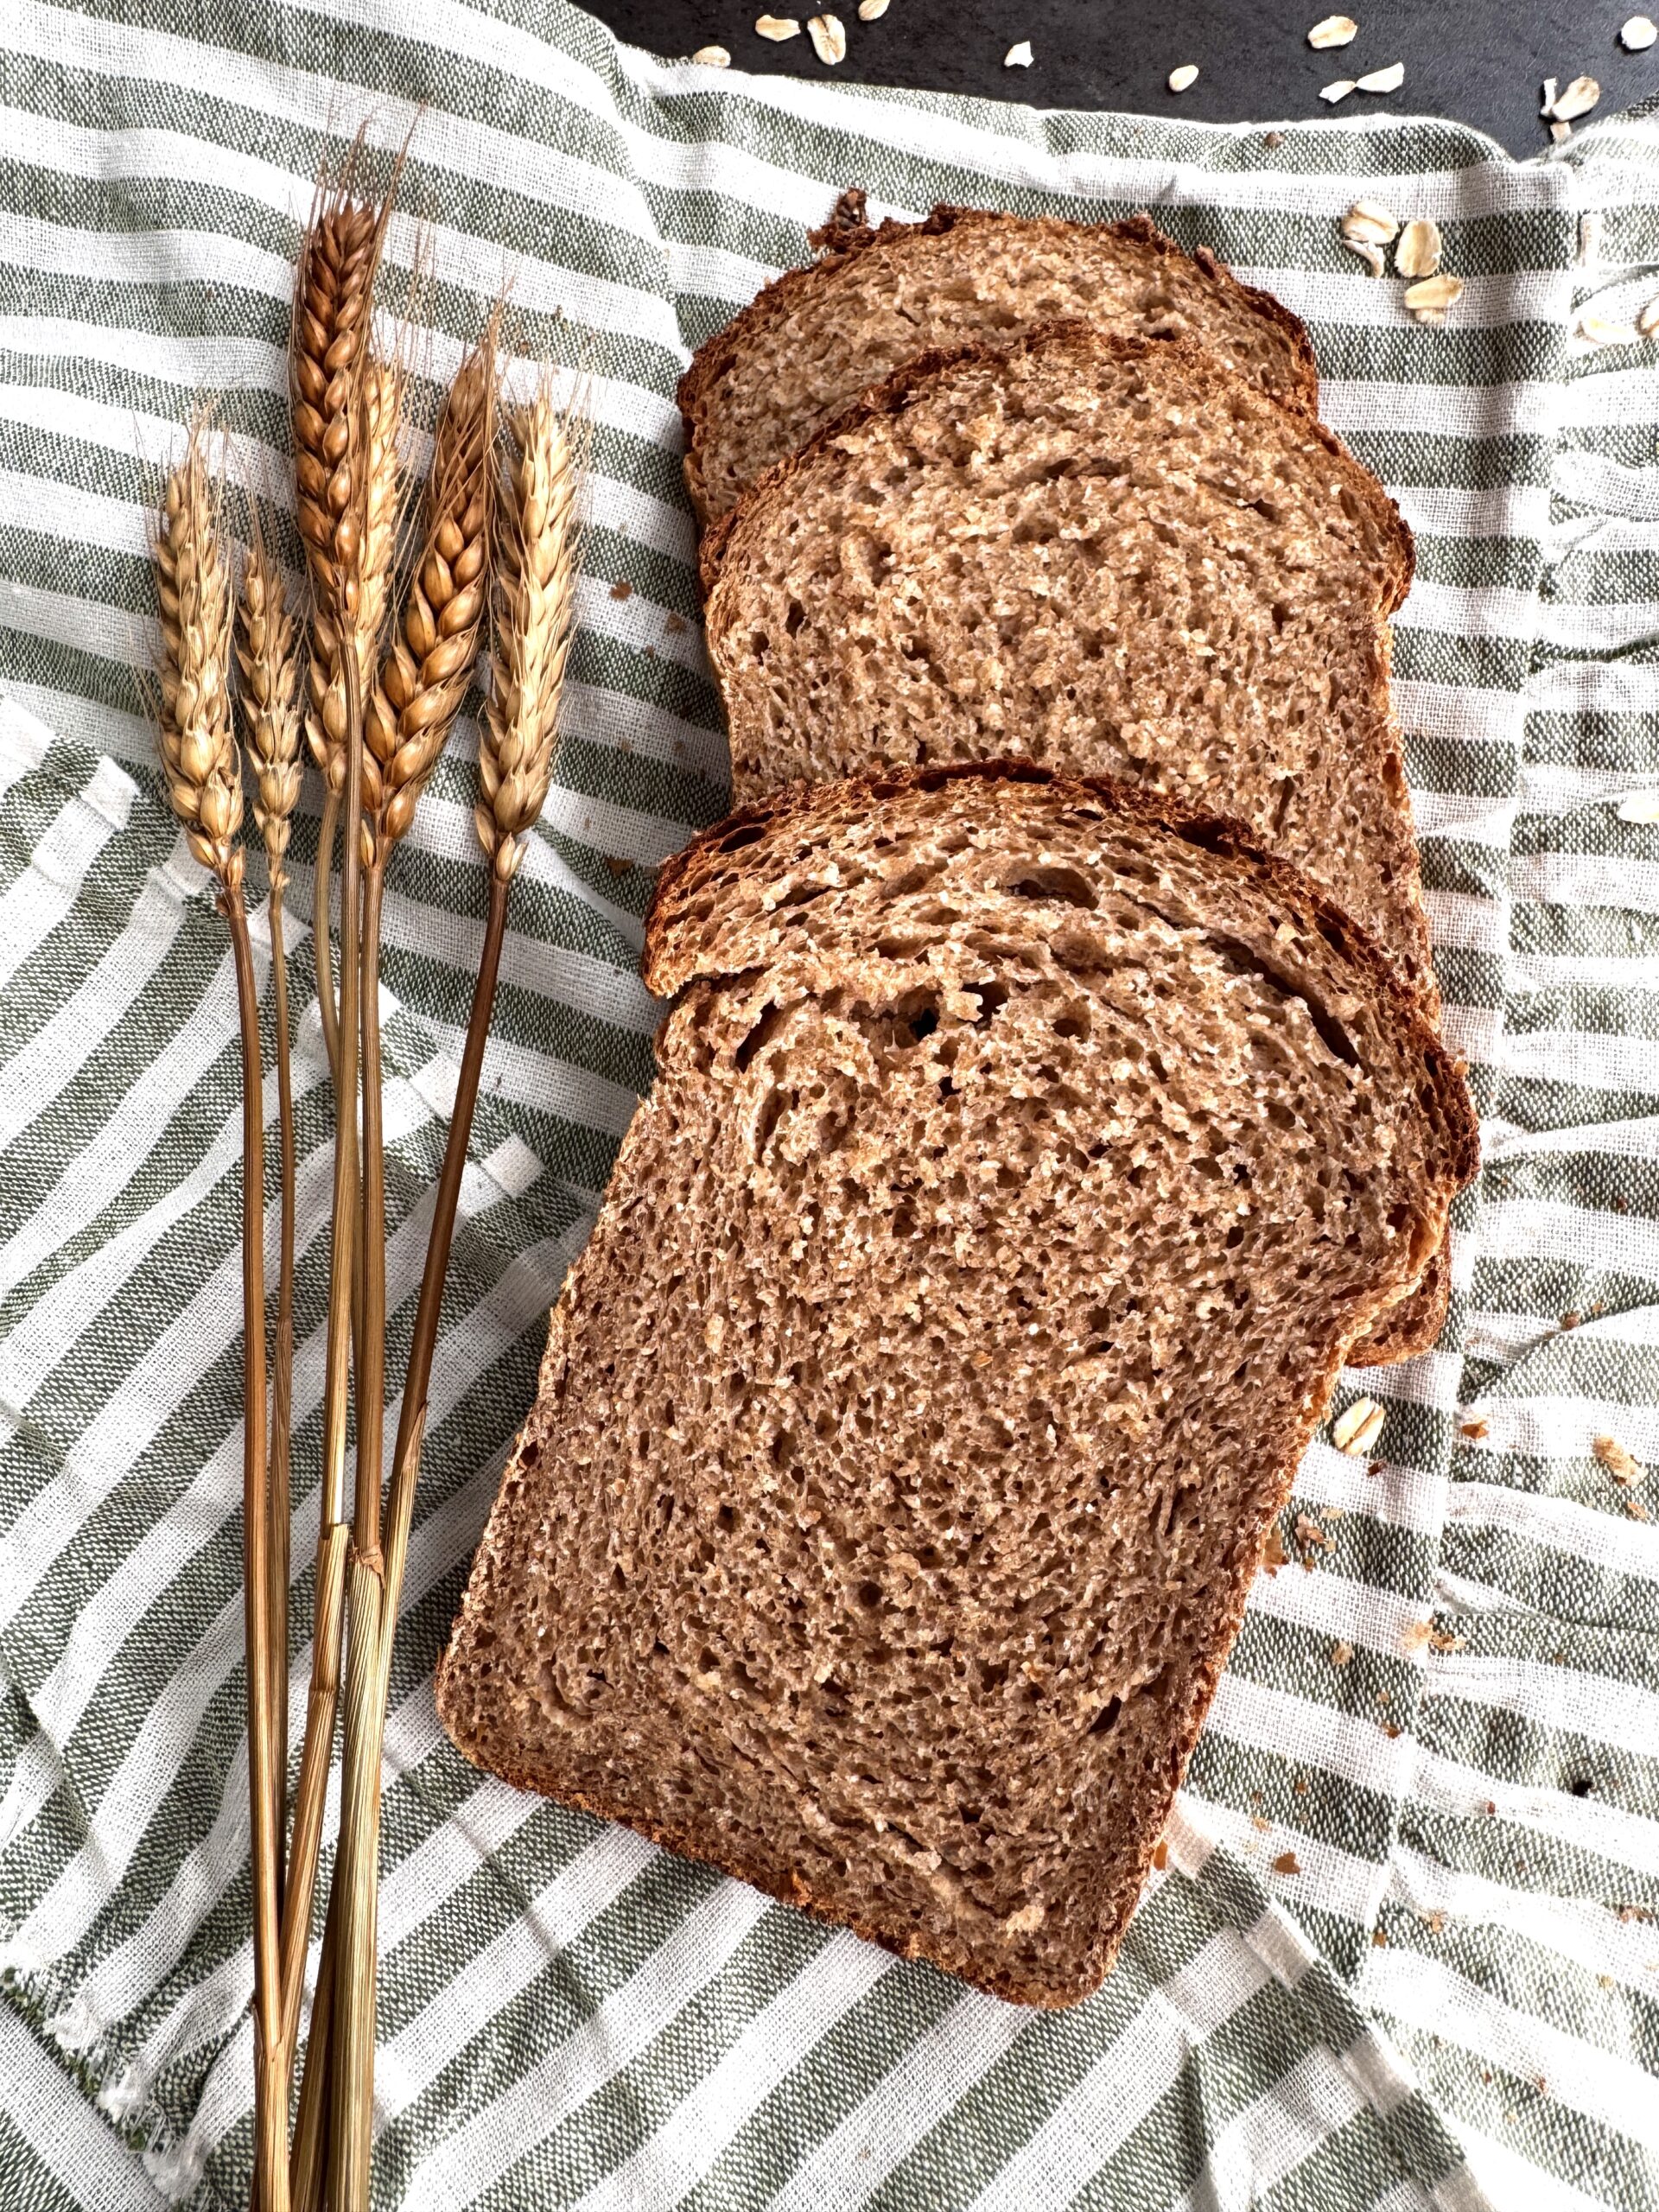
- Preheat your oven to 375°F (190°C). Bake the loaf for 35–45 minutes, until it's deeply golden on top and the oats are toasty, not scorched. If the top starts to darken before the loaf is finished baking, loosely tent it with foil for the remaining bake time. Check for doneness with an instant-read thermometer inserted into the center of the loaf — you're looking for an internal temperature of at least 198°F.
- Let the loaf cool in the pan for about 5 minutes, then turn it out onto a wire rack. As tempting as it is, let it cool the rest of the way — at least an hour — before slicing. The crumb is still setting as it cools, and cutting in too early will give you a gummier slice than this loaf deserves.