Ingredients
Method
Step 1: Night Before - Feed your starter
- If your sourdough starter is maintained weekly, feed your starter in the evening: 25g starter, 50g warm water (85–90°F), and 50g flour (1:2:2 feeding ratio). Mix it well. Cover loosely and leave it at room temperature overnight to come to peak.
- Want an even stronger starter? If you’re going the straight sourdough route with no instant yeast, I recommend a two-feed strengthening method instead of a single overnight feed. It isn’t required, but it noticeably improves how your starter performs in a wet dough like this one. The morning before you plan to mix, feed your starter at a 1:1:1 ratio and let it peak. Once it does, feed it again at 1:4:4 and let it peak overnight, ready to use the next morning.For example: Friday late morning feed your starter a 1:1:1 ratio (20g starter, 20g water, 20g flour), allow it to come to peak, depending on temperature, this can take anywhere from 4-7 hours. Once it is truly at peak, grab a different jar and place 13g of this starter into it along with 52g water and 52g flour, leave this newly fed starter in room temp to peak, this is a 1:4:4 feeding ratio and can take anywhere from 10-16 hours to peak. Saturday morning when your starter is at peak, mix your dough.If you’re adding the instant yeast (see the note below), you can skip this extra feeding step entirely — the instant yeast is doing that strengthening work for you.
Step 2: Next morning - Autolyse the Flour & Water
- Combine 370g water and 450g bread flour in a large bowl (no starter or salt yet) and mix until every bit of flour is hydrated and there are no dry patches. Cover and let it rest for 1 to 2 hours.
Step 3: Add the Starter & Salt
- Add the 115g of peaked starter and 10g of salt to the rested dough (if adding instant yeast for slightly faster rise especially in cooler temperatures or if using discard instead of active starter, add the instant yeast in this step as well). Mix and knead it in until fully incorporated. At first the dough will look shaggy and seem like it’s falling apart, and then it pulls together into one cohesive mass. Cover and let it rest for 30 minutes.
Step 4: Add the Olive Oil
- Add the 10g of olive oil and work it in until the dough feels smooth and slightly tacky. Cover and rest another 30 minutes.
Step 5: Coil Folds
- Do 4 sets of gentle coil folds, 30 minutes apart. With wet hands, scoop under the center of the dough, lift it up until the ends release and tuck under themselves, then rotate the bowl a quarter turn and repeat. After the final set, transfer the dough into a parchment lined and well-oiled pan. For a deep dish, pillowy focaccia, use a 9×12 deep baking dish lined with parchment and press the dough gently toward the edges — it won’t reach the corners yet, and that’s fine. If you’re after a thinner, extra-crispy focaccia instead, stretch the dough out on a well-oiled, parchment-lined rimmed cookie sheet gently, leaving it a little short of the full pan size so it has room to spread during the rise.
Step 6: Bulk Fermentation - Choose your timeline
- Same-day option: Cover the pan and let the dough ferment in a warm spot until it has more than doubled in size. Depending on your kitchen, that can take well into the evening. Don’t rush it. Cold ferment option (for deeper flavor and longer fermentation): After placing the dough in the pan, cover it and let it rest at room temperature for 2 hours, then refrigerate overnight. The next morning, take it out and let it come up and double at room temperature before you go on. This adds one day, but the flavor is noticeably more complex and tangy.
Step 7: Preheat, Oil, Dimple & add Toppings
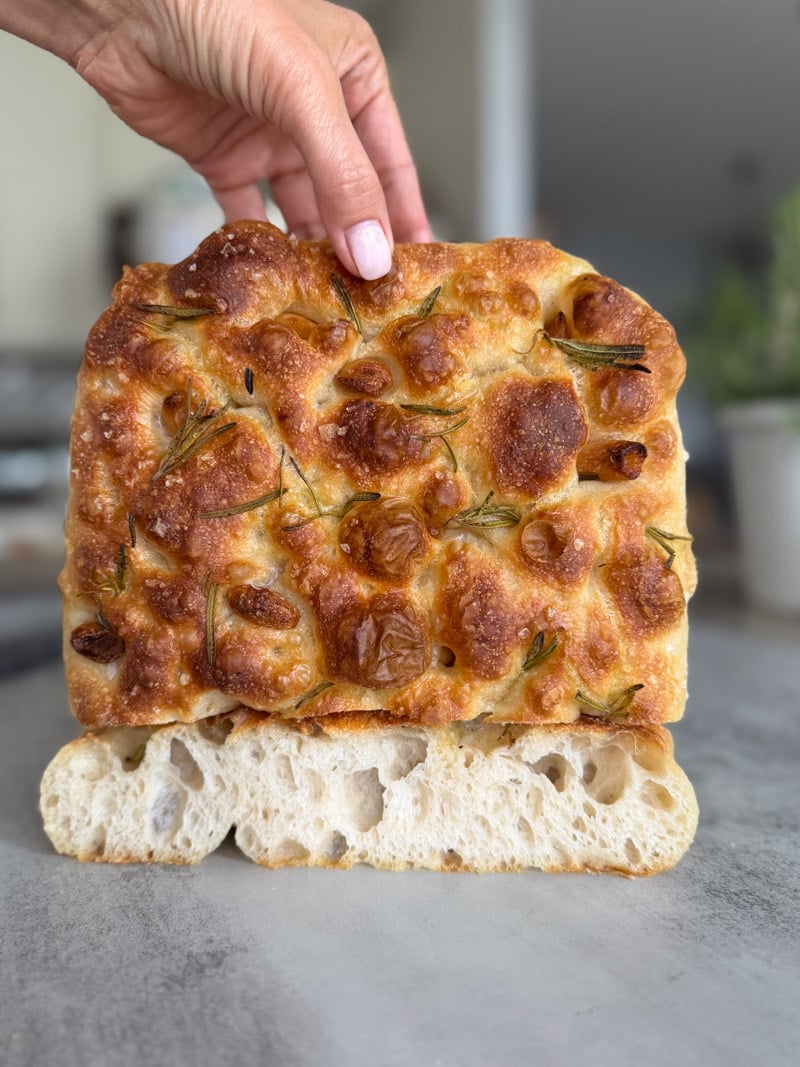
- Preheat your oven to 450°F. When the dough has doubled, drizzle a generous amount of olive oil over the entire surface, more than feels reasonable. Then dimple deeply with your fingertips, pressing all the way to the bottom of the pan. The dimples hold pools of oil and keep the dough from puffing into one big dome. Add your toppings now.
Step 8: Bake
- Bake at 450°F for 25 to 30 minutes, until the top is deeply golden and the edges pull away from the sides of the pan. Lift a corner to peek at the bottom. It should be golden and crisp. Toppings-heavy focaccia often needs the full time, so don’t pull it early because the top looks pretty. If you stretched your dough thin on a sheet pan, start checking closer to the 18 to 20 minute mark instead — a thinner focaccia bakes through faster and can go from crisp to overdone quickly.Let it rest in the pan for 10 minutes, then move it to a wire rack removing the parchment paper (this prevents the bottom from getting soggy). Wait at least 15 minutes before cutting.
Notes
- Sourdough Starter feeding ratios: let the season guide you: a 1:2:2 overnight feed works well in colder months, while 1:3:3 is better suited to a warm kitchen or summer baking, since warmth speeds fermentation along on its own. If you live in hot, tropical climates, you may need to up your ratio for an overnight feed.