Ingredients
Method
Step 1: Mix & Rest - Bulk Fermentation
- Mix. Combine filtered, lukewarm water and starter (*If you are mixing your dough for daytime bulk rise, use 100g of starter. If you are bulk fermenting your dough overnight, use 50g of starter) in a medium bowl, whisk to dissolve. Add flour then sprinkle salt on top, mix until no dry flour remains. You can use a dough whisk or mix by hand. The dough will look shaggy, sticky, and kind of rough—this is all good. Use a dough scraper to clean the sides of the bowl and gather the dough to the middle. The Bulk Fermentation has begun.
- Let the dough rest. Cover the bowl with plastic wrap, wet towel, a lid, or a shower cap and let the dough rest for 1 hour. This helps the flour hydrate and starts gluten development without the need for excessive kneading.
Step 2: Strengthen the Dough (Stretch & Folds)
- 1st Stretch & Fold. After the dough has rested for 1 hour, perform a set of stretch & folds. Wet your hands slightly, grab a section of the dough with your fingers from the outside, stretch it upward about 4-6 inches, and fold it over itself to the other side of the bowl. Grab another section of the dough and repeat the process going around the bowl until everything comes into a rough ball and the dough starts to resist being stretched and tugged. Cover the bowl and set aside for 30 minutes.
- 2nd Stretch & Fold. After a 30 min rest, the dough has relaxed and is ready to be stretched and folded again. Repeat the process as in the 1st set. Cover and set aside for another 30 minutes.
- 3rd & 4th set. Repeat the process for the 3rd and the 4th set of stretch and folds, 30 minutes apart. By the 4th set, the dough should come together better, look and feel more elastic and smooth and become more resistant to stretching. Cover and set aside.
Step 3: Rest and Rise
- After all the stretch and folds, the dough sits in room temperature until the desired rise is achieved. (Double in size or 100% rise if temperatures are below 73F, 75% rise if temperatures are between 73F-78F, 50% rise if temperatures are above 78F)**
- The timing of how long this will take greatly depend on temperature. (If you used 100g of starter for a daytime bulk rise, this should take from 6.5-9 hours from time of mixing the dough depending on temperature. If you used 50g of starter for an overnight rise, 10-13 hours from the time the dough was mixed)
Step 4: Pre-Shape & Final Shape
- Lightly flour your surface and turn the dough out.
- Shape it into a rough ball by going around, gathering the ends and gently folding them into the middle. Flip the dough over with seam side down and let it rest for 20 minutes, uncovered. This helps the gluten relax before final shaping.
- To shape an oval loaf, or a batard, stretch out the dough gently into a rough rectangle. Fold in like a letter by thirds and then roll up.
- Tighten the dough into a round or oval shape by cupping your hands and dragging the dough towards you in circular motion while tucking the dough under with your pinky fingers, you'll see the surface of the dough getting smooth and taut.
- Place the dough upside down (smooth side down) into a floured proofing basket (or a bowl lined with a towel).
Step 5: Cold Proof / Cold Ferment
- Cover with a shower cap or plastic wrap and refrigerate overnight for 8-16 hours.
- Cold fermentation develops incredible flavor and firms up the dough for easier scoring.
Step 6: Score and Bake
Score:
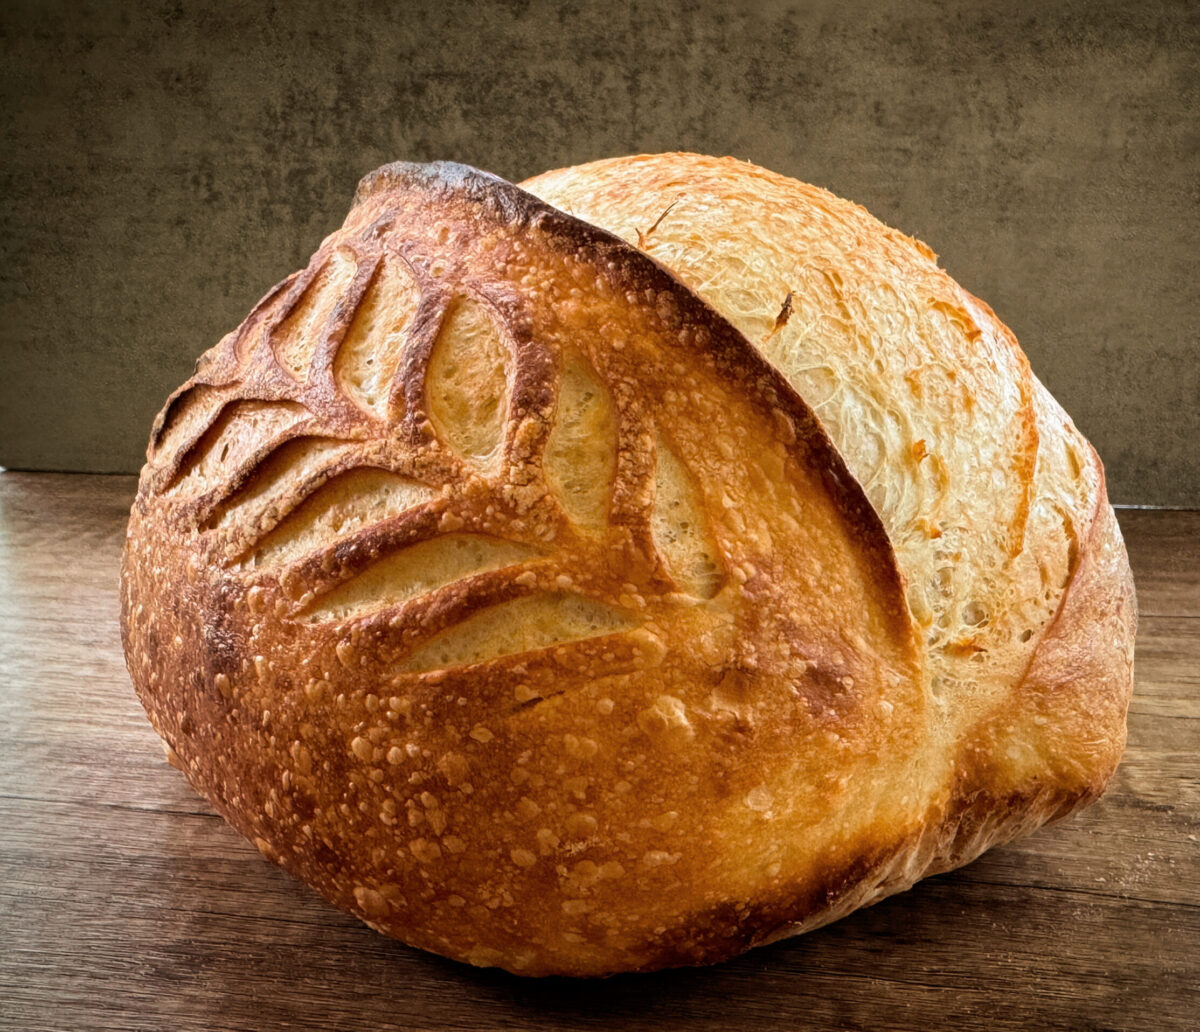
- Using a bread lame (razor), make a 1/4" slash or an expansion score. If you want to add a wheat stalk design or anything other than an expansion score, go for it.
Dutch Oven Baking:
- Preheat your oven to 500°F (260°C) for 30-60 minutes with the empty Dutch oven and lid inside.
- Once oven is preheated, take your dough out of the refrigerator. Remove the plastic cover and dust lightly with flour, flip the dough onto a piece of parchment paper (large enough to grab by the ends with the dough on it and lower inside the hot dutch oven pot), score the top using a bread lame razor , you can do one slit about 1/4" deep slightly off center or add some wheat stalk design as well. Take the dutch oven out of the oven, open the lid, lift the parchment with the dough on it and carefully lower it into the Dutch oven.
- Place the dutch oven with the lid on into the oven, lower the heat to 450°F (232°C) and bake for 20 minutes, remove the lid and bake an additional 15-20 minutes.
Open Baking:
- Preheat your oven to 500°F (260°C) for 30-60 minutes with a baking steel or pizza stone inside on the middle rack AND an empty metal or cast iron pan on a lower rack.
- Once oven is preheated, take your dough out of the refrigerator. Remove the plastic cover and dust lightly with flour, flip the dough onto a small piece of parchment paper, score the top using a bread lame razor, you can do one slit about 1/4" deep slightly off center or add some wheat stalk design as well. Using a pizza peel, slide the loaf inside the oven on the steel/stone, then pour about 2 cups of boiling water or ice cubes into the metal pan below (to create steam) and shut the oven.
- Lower the temperature and bake at 450°F (232°C) for 35-40 minutes***
Step 7: Cool, Slice, & Enjoy
- Remove from the oven and let the bread cool for at least 1 hour before slicing.
Video
Notes
Notes:
*(100g of starter is used if you're mixing your dough, and completing all the steps including bulk rise during the day, 50g of starter is used if you're mixing your dough in the evening and your bulk rise will be overnight) **Signs to look for that your dough is properly proofed or bulk fermentation is complete: Smooth, glossy surface, Slightly domed, Some bubbles, big or small, Jiggly, When touched, not too sticky. ***Ovens vary in temperature and humidity levels when baking, your baking temperature and time may vary from what is on this recipe, keep an eye on your loaf, if it is browning too quickly, cover with foil. Test the inside of the loaf when baked with a probe thermometer to make sure it is fully baked. 198F temp means it's baked through.
*(100g of starter is used if you're mixing your dough, and completing all the steps including bulk rise during the day, 50g of starter is used if you're mixing your dough in the evening and your bulk rise will be overnight) **Signs to look for that your dough is properly proofed or bulk fermentation is complete: Smooth, glossy surface, Slightly domed, Some bubbles, big or small, Jiggly, When touched, not too sticky. ***Ovens vary in temperature and humidity levels when baking, your baking temperature and time may vary from what is on this recipe, keep an eye on your loaf, if it is browning too quickly, cover with foil. Test the inside of the loaf when baked with a probe thermometer to make sure it is fully baked. 198F temp means it's baked through.